Custom Themes with Marp
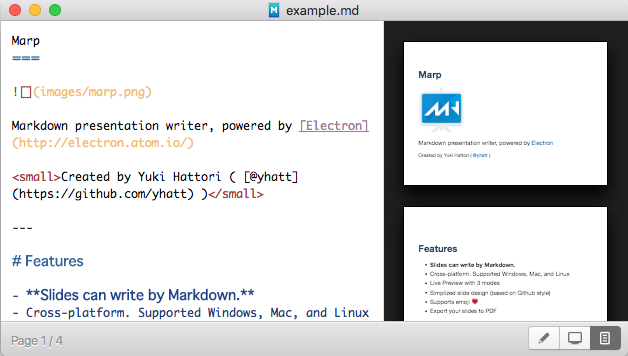
Recently I’ve been using this simple tool called Marp for generating presentation slides from my markdown documents. It’s really a nice interface and simple to use. However it appears limited to only 2 themes for your slides. After some research I found some great ways to customize the themes.
Create a Custom Theme
Follow these steps to create a new theme that can be selected from within the Marp application.
-
Clone the repository from Github
git clone https://github.com/yhatt/marp -
Initialize the project (using
npmoryarn)npm install -g appdmg cd marp npm install -
Copy existing theme to create the new theme
Copy an existing SASS file (such as
gaia.sass) to create your new style. For now do not edit your new theme. Let’s just get this new theme to show up in the Application. When that is working for you, then you can come back to this file and make your edits how you wish.cp sass/themes/gaia.sass sass/themes/newtheme.sass -
Modify coffeescript files
Modify the following 2 coffeescript files to add the new theme to the application.
coffee/classes/mds_main_menu.coffeeAdd a new entry for your theme in the following code section that contains the array of *themes.
themes: [ { label: '&Default' enabled: @window? type: if @window? then 'radio' else 'normal' checked: !@states?.theme || @states.theme == 'default' click: => @window.mdsWindow.send 'setTheme', 'default' unless @window.mdsWindow.freeze } { label: '&Gaia' enabled: @window? type: if @window? then 'radio' else 'normal' checked: @states.theme == 'gaia' click: => @window.mdsWindow.send 'setTheme', 'gaia' unless @window.mdsWindow.freeze } { label: '&NewTheme' enabled: @window? type: if @window? then 'radio' else 'normal' checked: @states.theme == 'newtheme' click: => @window.mdsWindow.send 'setTheme', 'newtheme' unless @window.mdsWindow.freeze } ]coffee/classes/mds_md_setting.coffeeAdd the name of the new theme to the array.
theme: (v) -> basename = path.basename(v) return if basename in ['default', 'gaia', 'newtheme'] then "css/themes/#{basename}.css" else null -
Build the project
Test the new changes by building the project. This will compile the changes and run the application.
npm start -
Create new application
If you are happy with the results, you can also create a new release which can be copied to your application folder and overwrite the previous version.
yarn gulp release
Custom Styles
You can have custom styles for each slide without having to always create a new theme within the application. Use the following tricks.
Using the <style> tag
- Select one of the themes from the application menu, View > Theme > Default for example.
- Override any of the theme’s style by adding the
<style>tag to your markdown document.
Here is an example. Note that you might need to use !important for some properties to be able to override the existing styles from the theme you selected.
<style>
.slide {
 background-color: black;
 font: 40px arial, sans-serif;
 }

.slide a {
 color: indigo;
 }

.slide h1 {
 color: fuchsia !important;
 text-align: center;
 }

.slide h2 {
 color: darkviolet;
 }

.slide p {
 color: darkorchid;
 }
</style>
A few explanations of these style settings:
.slideis about slide related settings.slide amodifies the links.slide h1references the titles of header level 1!importantoverrides the setting set by the theme
Instead of having a huge HTML tag at the top of your markdown, you can create a CSS file that contains your standard theme settings and then simply import that file using the <link> tag.
<link rel="stylesheet" type="text/css" href="style.css">
In fact you can do both. Use the <link> tag and use the overriding <style> tag to create customized looks for a particular set of slides.
Copy existing theme
You can also copy an existing theme that Marp provides (Default or Gaia) and extract the generated CSS file from the application to then customize it and use it going forward.
To get the CSS file for a particular theme, you need to run the application from the source code. Follow the steps above and run the application using npm start. At this point you can see that the css folder has been generated. You can now copy the CSS file that you want.
cp css/themes/default.css my/folder/default.css
Finally, use the <link> tag to point to the new default.css file and whenever you want to make some changes to the theme go ahead and edi the CSS file directly.
Summary
Making custom slides and themes in Marp is not so bad at all. Hopefully the new Marp Next application will have these features more easily available for us.
References
Credit to the following blogs for the initial ideas.

